Website migration can be one of the most stressful moments in digital marketing. Whether you are moving to a new domain, redesigning your website, changing your CMS, or shifting to HTTPS, every move comes with risks. A poorly planned migration can lead to traffic loss, broken rankings, and frustrated users. On the other hand, a carefully executed SEO migration strategy ensures your site keeps its visibility on search engines and continues to serve users smoothly.
What is SEO Migration?
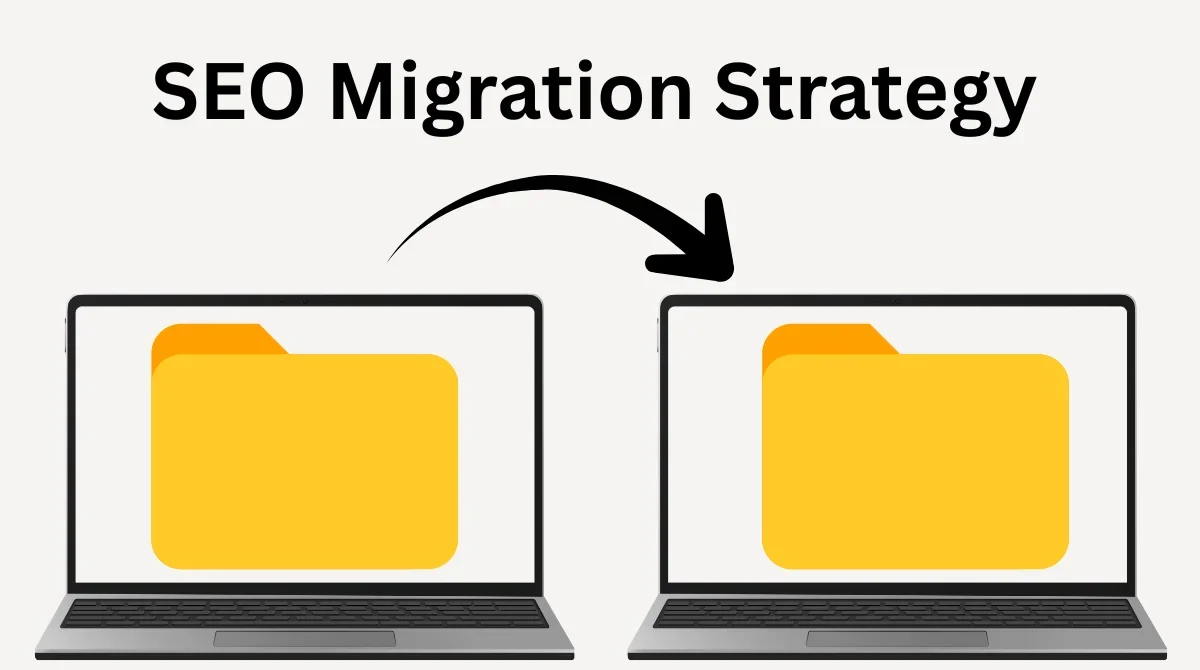
SEO migration refers to the process of making major changes to a website while ensuring that its search engine rankings, organic visibility, and user experience are not negatively impacted. Migrations usually happen during:
- Domain changes (moving from olddomain.com to newdomain.com).
- HTTPS/SSL upgrades.
- Platform or CMS migration (like moving from WordPress to Shopify).
- Site redesign or restructuring.
- URL structure changes.
- Server changes.
Without a proper SEO migration plan, search engines may see your site as brand new, causing you to lose years of SEO work. That’s why creating a structured migration strategy is essential.
Why SEO Migration Strategy Matters?
Before diving into the process, it’s important to understand why having a strategy matters. A website is not just code and design; it’s also reputation, history, and authority in the eyes of search engines. If you ignore SEO migration steps, you may face:
- Significant drop in organic traffic.
- Keyword ranking losses.
- Broken backlinks and 404 errors.
- Poor user experience.
- Longer recovery time after migration.
On the flip side, a solid SEO migration strategy ensures:
- Smooth transition without major ranking drops.
- Preserved domain authority and backlinks.
- Improved site performance and user experience.
- Faster indexation of the new structure.
Step-by-Step Guide to Creating an SEO Migration Strategy
Now, let’s go step by step into how to build an SEO migration plan that works.

1. Set Clear Goals and Scope
Before starting any website migration, you need to ask yourself a simple question: Why are we doing this migration?
Many businesses rush into a migration without clearly knowing the reason, which often leads to confusion and failure. By defining your goals and scope, you set a clear direction for the entire process.
For example:
- If you’re changing the domain name, maybe it’s because your brand is rebranding.
- If you’re redesigning your website, the goal could be to improve user experience and modernize design.
- If you’re switching your CMS (like moving from WordPress to Shopify), the goal might be scalability and easier management.
These reasons define the scope of work. A domain change, for example, will affect all URLs, branding, and redirects, while a simple redesign may focus more on layout and user experience.
Key goals to keep in mind during migration:
- Maintain organic traffic: Make sure your current SEO value doesn’t vanish after migration.
- Preserve keyword rankings: Your site should continue ranking for the keywords you already own.
- Improve technical performance: Use the migration as a chance to fix speed, crawlability, and indexing issues.
- Enhance user experience: Better design, navigation, and responsiveness.
- Support long-term growth: Build a foundation that allows your site to scale easily in the future.
By writing down these goals in advance, you can later measure whether your migration was successful or not.
2. Conduct a Pre-Migration SEO Audit
Once you know the goals, the next step is to understand the current health of your website. You can’t protect what you don’t measure. This is where an SEO audit comes in.
Think of it like a doctor’s check-up before surgery; you want to know the patient’s health before making changes.
Why this matters:
- You’ll know what’s working well and shouldn’t be lost.
- You’ll identify weak areas you can fix during migration.
- You’ll have a clear benchmark to compare before and after results.
Audit Checklist Explained:
- Crawl your website → Use tools like Screaming Frog, Sitebulb, or SEMrush to scan your site the same way Google does. This helps you see all URLs, broken links, and errors.
- Export all indexed URLs → Create a list of all pages Google currently indexes. This ensures you don’t accidentally lose or forget important ones.
- Record metadata (titles, descriptions, headers) → These are your SEO assets. You don’t want to lose optimized titles or descriptions.
- Check current keyword rankings → Note down your keyword positions so you can track changes after migration.
- Identify top-performing pages → These are your “money pages” (high traffic, backlinks, or conversions). Make sure they’re preserved.
- Review internal linking structure → Internal links pass authority. If they break, rankings can drop.
- Benchmark speed and Core Web Vitals → This will help you see if the new site performs better or worse after migration.
Doing this audit is like creating a safety net. It ensures you know what you must protect, what to improve, and what success should look like after the migration.
3. Create a URL Mapping Strategy
When you migrate a website, URLs often change. Maybe your new CMS creates different slugs, or your redesign changes folder structures. The problem is, search engines and users already know your old URLs. If you don’t redirect them properly, visitors may land on a 404 error page, and Google may drop your rankings because it can’t find the content anymore.
That’s why URL mapping is one of the most critical parts of migration. Think of it like changing your phone number; if you don’t tell people your new number, they won’t be able to reach you.
Tips explained:
- Map all old URLs to the most relevant new URLs → Every page on your old site should point to the correct page on your new site. For example, your old “About Us” page should redirect to the new “About Us” page, not just the homepage.
- Use 301 redirects (permanent) → These tell Google and browsers that the page has moved permanently, and they also transfer your SEO value (backlinks, authority, and rankings).
- Avoid redirect chains → If Page A redirects to Page B, and Page B redirects to Page C, Google gets confused, and authority is diluted. Always make it direct: Page A → Page C.
- Keep URL structures clean, short, and keyword-friendly → Migration is the best time to improve URLs. For example:
- Old: www.newdomain.com/blog/2025/09/12?post=seo-tips
- New: www.newdomain.com/seo-tips
Example:
- Old: www.olddomain.com/blog/seo-tips
- New: www.newdomain.com/seo-tips
Proper URL mapping ensures that both users and search engines reach the right destination, without losing your hard-earned SEO power.
4. Optimize Technical SEO Before Launch
Before you hit the “Go Live” button on your new website, you need to make sure your technical SEO foundation is ready. If your technical setup is broken, even the best content won’t rank because search engines won’t be able to crawl and index your site properly.
Here’s what you need to check:
- Set up HTTPS if not already → Security is a ranking factor. Always use SSL (https://). It also builds trust with visitors.
- Configure canonical tags correctly → Canonical tags tell search engines which version of a page is the “main” one. This avoids duplicate content issues.
- Review robots.txt and XML sitemap → Robots.txt controls what search engines can crawl. Your sitemap lists important pages. Both must be updated to reflect your new structure.
- Ensure mobile-friendliness and fast loading speed → Google uses mobile-first indexing. If your site isn’t mobile-friendly, rankings can drop. Also, speed matters for both SEO and user experience.
- Implement structured data (schema markup) → Schema helps search engines understand your content better and display rich results (like star ratings, FAQs, or event details).
- Verify hreflang tags (if multi-language site) → If your site serves multiple languages or regions, hreflang ensures users see the right version of the page.
- Test server response codes → Make sure all important pages return the correct status (200 = working fine, 301 = redirected properly). Avoid 404 (not found) errors.
Doing this step ensures your website is search engine-friendly right from day one. Without it, even if your URLs are mapped correctly, Google may struggle to index your site.
5. Back Up Everything
Migration can sometimes break things. To avoid disasters, always back up your website, databases, and content. If anything goes wrong, you can restore quickly without losing valuable data.
6. Prepare a Staging Environment
A staging environment is basically a “test version” of your website that is not visible to the public. Think of it as a practice ground where you can test everything before making the final site live.
Why this matters: if you migrate directly to your live site, any mistake (broken links, wrong redirects, crawl issues) will immediately affect your visitors and search engines. That can lead to ranking drops and frustrated users. A staging environment allows you to catch and fix problems early.
Things to test in staging:
- URL redirects: Make sure old URLs correctly point to the new ones.
- Crawl errors: Use SEO tools to simulate a Google crawl and check if anything is blocked or broken.
- Responsive design: Confirm that the new design works well on desktop, mobile, and tablet.
- Structured data: Verify that schema markup (like FAQ, product info, reviews) is working properly.
- Performance tests: Check loading speed and Core Web Vitals to ensure the site runs smoothly.
Only when everything looks perfect in the staging environment should you move forward with launching the live site.
7. Launch with Care
The launch is the big moment, and it needs to be handled with structure and caution. Treat it like a surgical methodical, step-by-step, without skipping anything.
What to do at launch:
- Maintenance messages (if needed): If downtime is required, display a temporary message so users know you’ll be back soon.
- Migrate URLs and implement redirects: Make sure all your planned 301 redirects are live so no traffic is lost.
- Submit updated XML sitemap to Google Search Console: This helps Google discover your new site structure quickly.
- Update internal links: Make sure all links inside your site point to the new URLs, not the old ones.
- Remove unnecessary redirects and broken links: Clean up any extra or faulty redirects to avoid confusion.
- Test crawlability: Use audit tools like Screaming Frog or SEMrush to check if search engines can crawl your site without issues.
The first 48–72 hours after launch are the most critical. Monitor closely, because that’s when Google and users are first interacting with your migrated site.
8. Monitor Post-Migration Performance
Once your new site is live, the job isn’t over. In fact, monitoring is one of the most important parts of a successful SEO migration. Search engines take time to adjust, and if you don’t keep an eye on things, small issues can snowball into major problems.
What to monitor after migration:
- Traffic and keyword rankings: Check daily for at least the first month to make sure rankings and traffic remain stable.
- Google Search Console crawl errors: Look for 404 errors or pages Google can’t find, then fix them with proper redirects.
- 404 pages: If users are landing on “page not found” errors, redirect them to the correct content.
- Backlink health: Check if your most valuable backlinks still point correctly. If not, ask the linking websites to update the links.
- Core Web Vitals and performance: Ensure the site remains fast and user-friendly.
- Conversions and analytics tracking: Make sure your analytics tools (Google Analytics, Tag Manager, etc.) are still recording data and conversions correctly.
Monitoring ensures that if something breaks after migration, you catch it early and fix it before it harms your traffic or rankings.
9. Communicate with Stakeholders
If you are managing migration for a business or client, communication is key. Keep stakeholders updated about potential fluctuations in rankings and traffic. Explain what you’re monitoring and how long recovery may take.
10. Continue Optimizing After Migration
Migration is not a one-time task. Once your site is live, continue improving:
- Optimize content for user intent.
- Build new backlinks to strengthen authority.
- Improve page experience (UX, speed, design).
- Expand keyword coverage with new pages.
- Refresh metadata for SEO improvements.
The goal is not just to maintain SEO performance but also to use the migration as an opportunity for growth.
Common Mistakes to Avoid in SEO Migration
Many businesses lose rankings because they make these common mistakes:
- Forgetting to set up redirects.
- Not updating internal links.
- Ignoring mobile performance.
- Blocking crawlers by mistake in robots.txt.
- Launching without testing in staging.
- Neglecting to monitor after launch.
Avoiding these mistakes can save you months of lost traffic and revenue.
Final Thoughts
Website migration is a complex but manageable process. If done right, it not only protects your SEO but also improves your website’s overall performance and user experience. The key lies in planning carefully, executing step by step, and monitoring consistently.
Remember, SEO migration is not just about avoiding losses; it’s also about creating growth opportunities. By preserving your site’s authority and making improvements along the way, you set yourself up for stronger rankings and better results in the long run.

